The Ideal Yogurt Starter Quantity to Make the Best Yogurt
Everyone loves yogurt because of its health and taste profile. While plenty of yogurt tubs are available on the market shelves, people are now more inclined to make it at home.
One reason behind this trend is its cost-effectiveness. Once you learn to create the perfect yogurt at home, you won’t have to spend recurring amounts to get store-bought yogurt tubs, which may also contain certain preservatives to increase their shelf life. If you choose the more budget-friendly, organic, and healthy option, you must start making yogurt at home.
If you’re new to this, pay special attention to the quantity of yogurt starter you add to the milk because it significantly influences the taste and thickness of the yogurt. Adding too much or less starter can result in runny or curdled yogurt.
To make the process easy and help people achieve the perfect texture and tang, this article lists every detail needed to make the best yogurt at home. Whether you’re new and need precise instructions, or are looking for tips to improve your yogurt-making skills, this article has valuable information for everyone. So, let’s learn more about it and read along.
Demystifying Yogurt Starters
Beginners may initially get overwhelmed by the idea of making homemade yogurt, but it is easier than most think. The magic lies in fermentation by using the ideal quantity of yogurt starter.
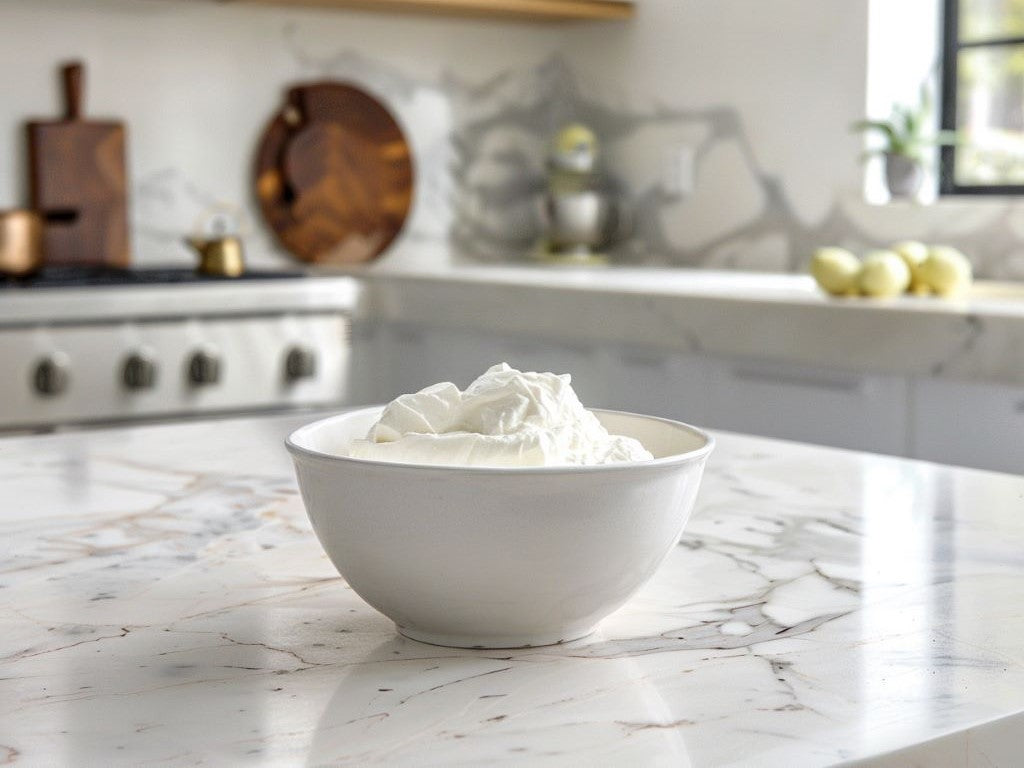
Yogurt starter cultures contain live and active bacteria that transform the milk’s sugar content into lactic acid, giving it a pleasantly tangy flavor and thick texture. If you figure out the ideal quantity of yogurt starter, you can start making fresh, flavourful, and healthy yogurt with minimal effort.
Those getting started with homemade yogurt making must know that there are two types of yogurt starters.
The first is store-bought plain yogurt, and the second is commercial yogurt. Store-bought plain yogurt features live and active cultures while commercial yogurt starter cultures are available in freeze-dried or powdered form and contain specific bacteria strains.
Exploring the Ideal Yogurt Starter Quantity for Best Results
If you’re using a store-bought plain yogurt starter, a general rule is to add 2 tablespoons of plain yogurt to 1 liter of milk. Since the bacteria strains vary from one store-bought yogurt brand to another.
Before adding the yogurt starter to the milk, ensure it is boiled adequately and cooled down. Once the milk cools down and reaches 110°F/43°C temperature you can add the starter quantity (based on the milk quantity).
If you want the yogurt to be more tangy and thick, add one additional teaspoon of yogurt. You can add a lesser quantity for a milder flavor profile.
Those using commercial yogurt starter cultures can refer to the instructions shared on the respective package. While sticking to the manufacturer’s recommendations is a good option, feel free to fine-tune the starter quantity based on your preferences.
You can increase the yogurt starter amount by 10% to 20% from the recommended amount to achieve a thicker consistency. Similarly, you can reduce the starter quantity by 10% to 20% for milder thickness and tanginess.
Additional Tips for Creating the Perfect Homemade Yogurt
Besides following the instructions regarding temperature and yogurt starter quantity shared above, you can also experiment with the following additional tips for best results.
- Choose whole milk over low-fat or skim milk for a rich, thick texture. You may consider adding a tiny amount of powdered milk with the yogurt started for a thicker consistency.
- Heat milk at 82°C or 180°F and cool it down before adding the yogurt starter.
- After adding the yogurt starter, place the milk in a warm, stable, and uninterrupted environment for at least eight hours. You can also consider using a yogurt maker, an oven with lights on, or a cooler with warm water for faster fermentation.
- Resist your urge to check the milk after a few hours, and let it rest undisturbed during its incubation period.
- Once the yogurt is set, consider refrigerating it for a few hours so the flavors can mature and settle, making the texture firmer.
The process may seem demanding, but you can get it right within the first few times of making homemade yogurt.
Troubleshooting Common Yogurt Woes
Sometimes, the yogurt doesn’t settle well and fails to give the thickness or tanginess we expected, but it can be fixed in the following sessions. For example, if your yogurt becomes too thin or runny, the reason can be insufficient starter culture or less incubation time.
You can avoid this problem in your next batch by using a slightly higher starter amount and extending the resting period by a few extra hours. If your yogurt becomes lumpy, it may be a result of uneven mixing or excessive stirring, so ensure it doesn’t repeat in the following batches.
The Art and Science of Yogurt Making
Creating the perfect, delectable, and healthy yogurt is easy but requires the correct measurements and incubation period. If you want to start making homemade yogurt, follow the instructions covered in this article, and you’ll receive fantastic results.
While the information shared is time-tested, feel free to fine-tune certain steps for better results. You can also refer to our troubleshooting guidelines for timely fixes.